About Zone and Creation And Configuration in SmartFoxServer2X With Code Snippet
Follows These steps To Create/Configure New Zone Through AdminPanel in SmartfoxServer2X
Step 1:- Open the smartfoxserver
admin panel and Administration Tool 2X (check the port number of
jetty) (see Port Configuration to find jetty port) 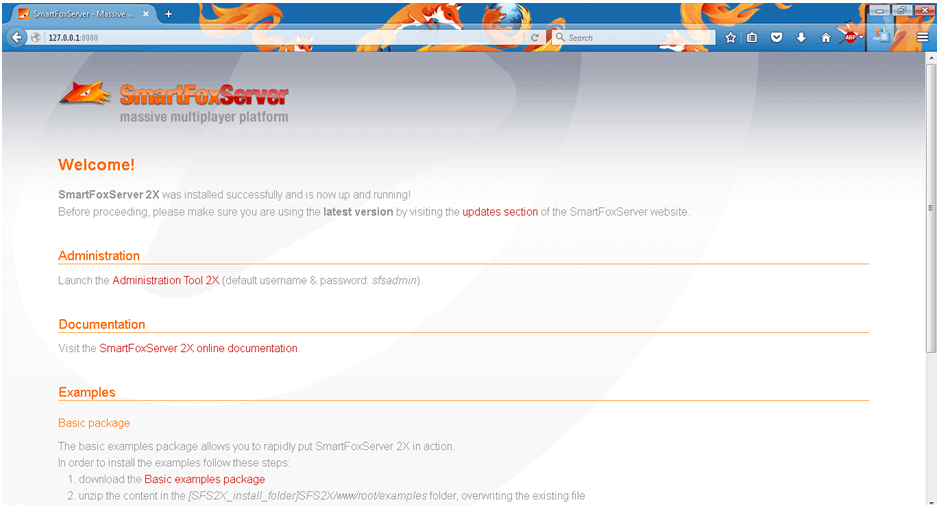
Step 2:- Enter the host and port to
connect to smartfoxserver (here port is not jetty’s it’s
smartfoxserver’s) and supply the username and password for admin
panel. In server.xml under <adminUser> tag you will find
the username and password for admin user. 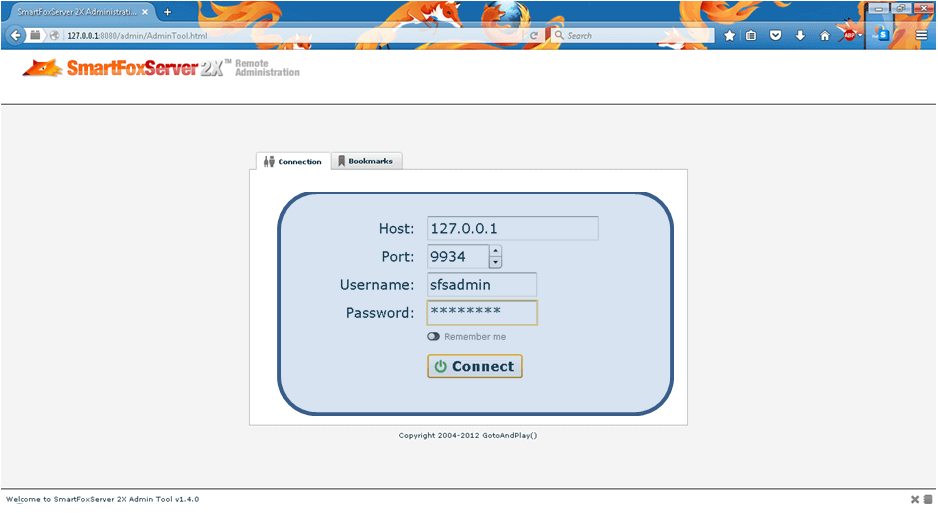
Step 3:- Open the 'ZoneConfigurator'
option in 'Adminstrative Module' appears in the left side.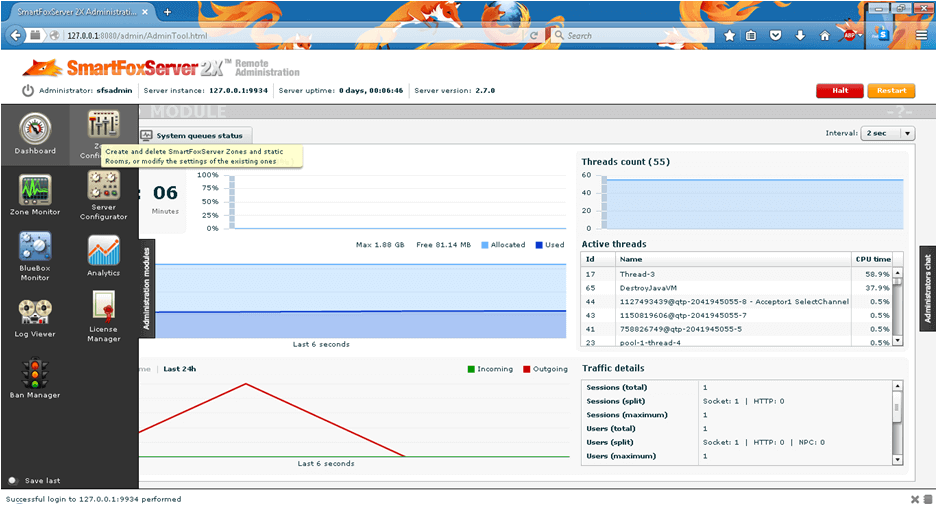
Step 4:- Click the + button to
create the zone 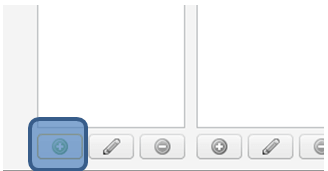
Step 5:- Fill the details of zone
Like name, cutom login, force logout, maximum no of user , max
no of rooms etc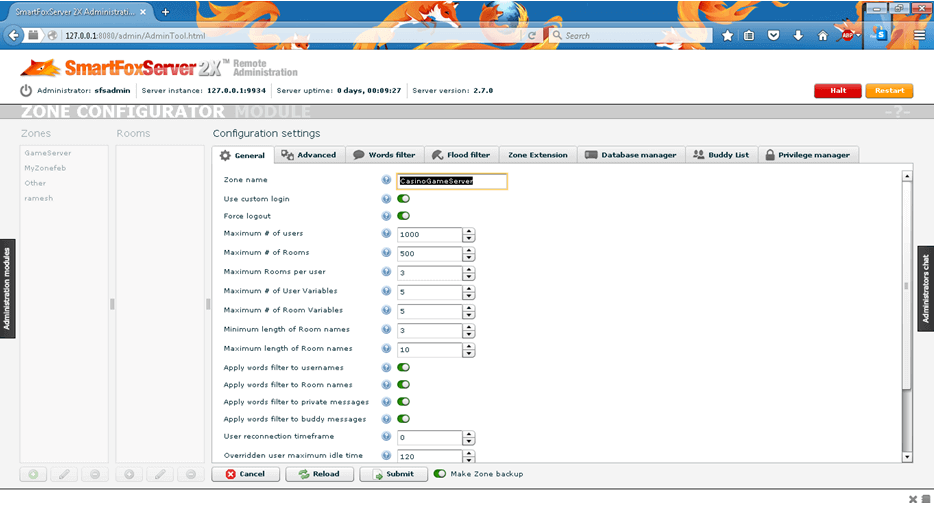
Step 6:- Check/uncheck guest login
allow, default room groups in the same page at the bottom you
will find those.
Step 7:- Open the 'Zone Extension' tab and
- Select name of “Extension name” (lists folders found under SFS2X-<extensions folder)
- Choose extension type as JAVA.
- Choose Main class extension (ZoneExtension prog)
- Mention properties file name by default it is config.properties.

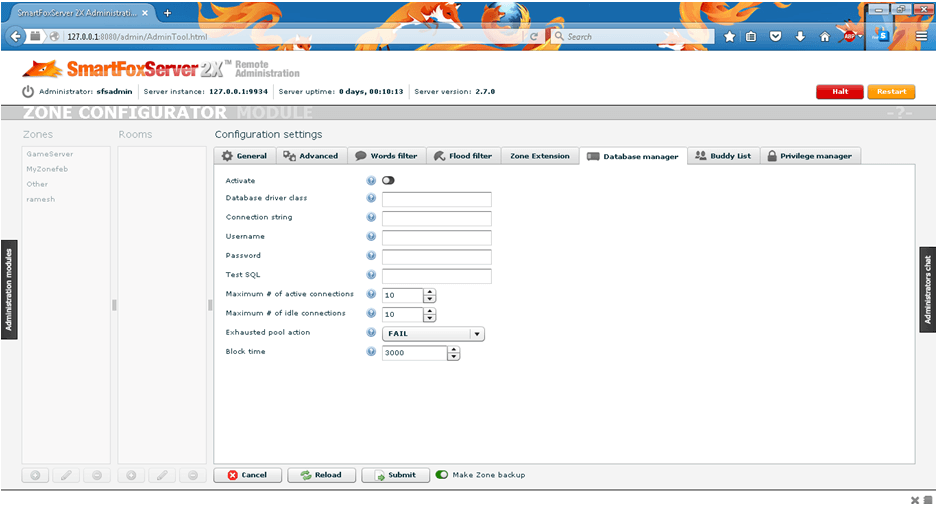
Step 8:- Configure "Database" by opening 'Database Manager' tab as
- Activate Database or not
- Database driver class, username, password, test SQL.
- Connection pooling concept (active connections, idle connections)
- What to do if max db connections or open (FAIL, GROW, BLOCK) etc.,